An Introduction to the QuickBooks Online Customer Page
Your customers are the heartbeat of your business. QuickBooks Online helps you keep them happy.
Do you remember how you used to keep track of information about your customers before you started using a computer for your accounting? A file folder containing paper transaction forms and other communications? A card in your Rolodex? A list on paper?
It’s hard to imagine going back to those days once you start using QuickBooks Online. The site provides detailed record forms for your customers. It also offers multiple ways to get a snapshot of their current status with you. And there are numerous paths you can take to create sales forms for them.
Besides helping you complete the work you must do with each customer, all of these tools can help you achieve a key goal for your business: exceptional customer relationships. Here’s a look at what you can do to build those relationships.
A Central Clearinghouse
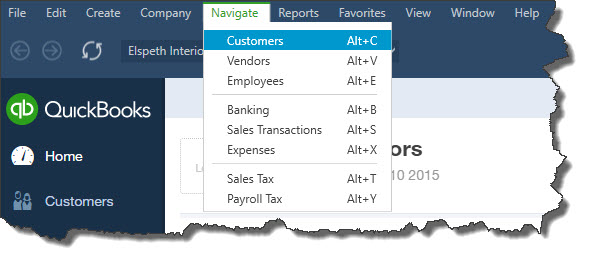
The easiest way to find these tools is to simply click the Customers tab in the navigation pane. This will take you to a comprehensive page that will eventually contain a list of your customers. To add a new customer, click New Customer in the upper right corner.
Note: If you already have a database of customers in an Excel or .csv format, you should be able to import it into QuickBooks Online. We can help you make this happen.
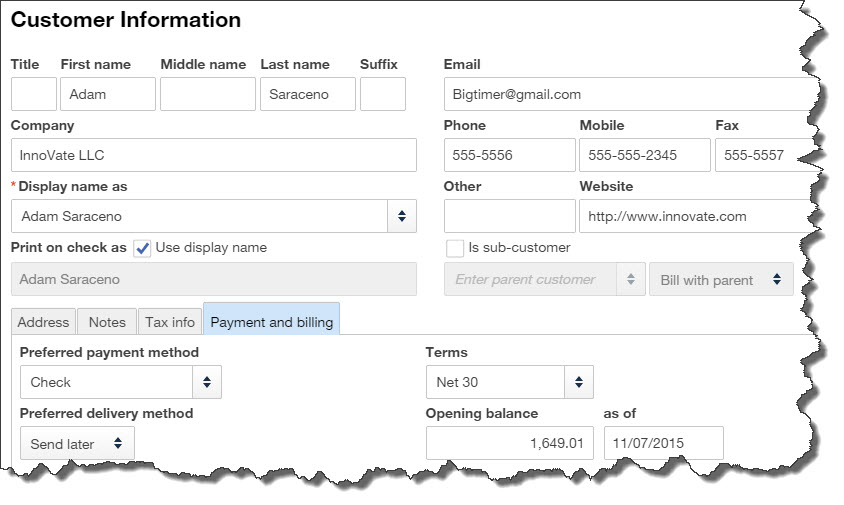
Figure 1: QuickBooks Online helps you create thorough profiles for each of your customers.
You’ll see an empty screen with predefined fields like the one above. Complete as many fields as possible can for your customer; you’ll be using this information later in transactions and reports.
When you’ve finished, look in the lower left corner, where you’ll see four tabs. You can use the blank screen that opens when you click Notes to enter miscellaneous information. Click on Tax info to supply a Tax Resale No. and select a Default Sales and Use Tax Rate. If you need to set up sales tax and haven’t yet, we can work with you on that.
Completing the fields in the screen under the fourth tab, Payment and billing, will save you a lot of time when you start creating transactions. Any of the customer’s current, unpaid obligations should be entered in the field labeled Opening balance…as of. You can also select default (preferred) Terms, payment method (cash? check? credit card?), and delivery method (print or send later).
If you haven’t yet signed up for a merchant account, which lets you accept credit/debit cards and bank transfers, let us tell you what’s involved. You’ll find that invoices are paid faster if a customer can do so electronically.
Viewing and Acting
Once you’ve entered information for one or more customers, their names and some additional details will appear in the list that’s displayed when you click on Customers. You’ll see a horizontal colored bar at the top of the screen; this updates you on the status of your sales transactions. Below that is your table of customers.

Figure 2: You can do more than simply access information about each customer from the master page; you can also launch activity and transaction forms.
Select a group of customers and click the arrow next to Batch actions, and you’ll be able to send emails or create statements for them. When you’ve created records for multiple customers, the search box will come in handy.
Your list can also contain columns for each customer’s email and address; you’d make this change by clicking on the gear icon in the upper right corner. And when you click on the arrow next to Receive payment in the far right column, a drop-down list will display the other activities you can do from there, like creating invoices and sending reminders.
Critical Care Required
Keep your customer records updated whenever there’s a change. You want every detail of your communications with your customers to be correct — down to the spelling of their street names. Seemingly little things like this can have impact on your customers’ perception of their value to you.

